How to Install Node.Js on Windows Machine
For Creating Node.Js application on your windows machine, first you need to download and install Node.js package. The Node.js package is available for a variety of operating systems right from Windows to Ubuntu and OS X. Once the Node.js package is installed on your window machine you can start building your first Node.js applications. Also now days many powerful open source projects have Node.js as a dependency, so often times you need to set it up on your web server. So in this post I am going to show you how easily you can download and install Node.Js on your Windows Machine.
Install Node.Js on Windows Machine
Follow below steps to installing Node.Js on Windows Machine correctly.
Step.1: Download the Windows installer from the Node.js Official Download Page.
Step.2: Run the msi file you just downloaded.
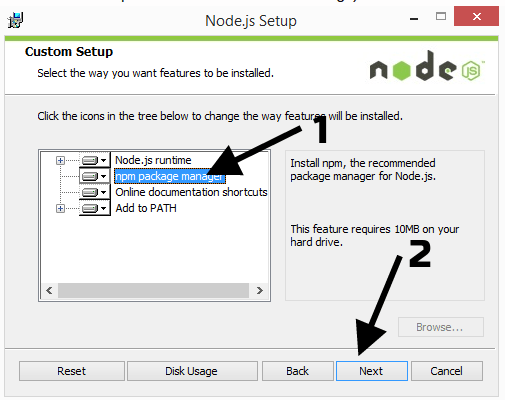
Step.3: Follow the prompts in the installer (Accept the license agreement, click the NEXT button a bunch of times and accept the default installation settings). see attached screenshot
Step.4: Restart your computer. (Note: You won’t be able to run Node.js until you restart your computer.
How to test that Nodejs installed correctly in your Machine
Check Is Nodejs installed in your machine, first open the CMD in window and type node -v. This will print the nodejs installed version number, you can see something like this v7.0.01.